Showing posts with label sandwich. Show all posts

Monday, December 26, 2011

Fig and Ham Foccacianini

I LOVE sandwiches. I mean, who doesn't? Carbo-loading with delicious ingredients and the options are endless. Although, I will admit, sometimes I get stuck in a PB & J rut. Recently, I started watching "Next Food Network Star" and loving Jeff Mauro. He won last season (oops...do I have to say "spoiler alert" if the info is a year old??) and his recipes are really creative and interesting when it comes to composing a yummy sandwich.

Here, I adapted one of his panini recipes and it turned out delicious. It combines the traditional flavors of ham and cheese with a unique twist - using sharp Italian cheese and fig spread to make it out of this world.

To make this recipe even faster and easier, feel free to use prepared (read: store bought) fig spread. IF you've got the time, I included the recipe for homemade fig spread.


Ingredients
Fig Spread:
2 cups dried figs, stems removed and halved
3/4 cups balsamic vinegar
1 teaspoon sugar

4 squares focaccia bread
8 ounces Italian sharp cheese, such as Fontinella, or asiago, sliced
1 pound black forest ham, thinly sliced
Olive oil, for brushing

For the fig spread: Bring the figs, 1 cup water, balsamic and sugar to a simmer in a small pot. Simmer until the figs rehydrate and the liquid reduces and thickens, about 15 minutes. Let cool. Once cool, place in a food processor and puree until smooth, 20 to 30 seconds.


For the sandwich: Preheat a griddle over medium-low heat or heat a panini press. Slice 1 focaccia square in half. Place a thin layer of the fig spread on the inside of both halves. Place a couple slices of cheese on the bottom, and then place 4 ounces ham on top. Close and lightly brush the bread with olive oil. Griddle the sandwich until golden and warm, about 4 minutes a side. Repeat with the remaining ingredients.

Recipe adapted from "The Sandwich King" Jeff Mauro

Sunday, March 27, 2011

Grilled Chicken and Roasted Red Pepper Panini

This weekend I was looking for a delicious way to use our newly acquired Panini maker. My brother was crazy enough to not want it so his loss is our gain! This could easily be adapted by using leftover or rostisseire chicken. You can also load it up by using jarred spreads like the Red Pepper, Garlic, Onion one that I spied at Trader Joe's last week. YUM!

My firt attempt at Panini turned out great and was easier than I thought it would be. I could have gone little more simply and started with a grilled cheese sandwich, but that's not really my style....enjoy!


Grilled Chicken and Roasted Red Pepper Panini
yield: 4 panini

2 whole Boneless, Skinless Chicken Breasts
8 whole Sundried Tomatoes, Packed In Oil
3 Tablespoons Prepared Basil Pesto
1 Tablespoon Extra Virgin Olive Oil
1 Tablespoon Lemon Juice
1/2 teaspoons Kosher Salt
Freshly Ground Black Pepper
1/4 cups Mayonnaise
2 whole Red Bell Peppers
8 whole Slices Asiago (or other Italian cheese like Provolone Or Mozzarella)
8 slices Good Whole Grain Sandwich Bread
4 Tablespoons Butter, Softened

CHICKEN

Slightly flatten chicken with a mallet (just until uniform thickness.)

In a blender or food processor, puree sundried tomatoes, pesto, olive oil, lemon juice, salt, and pepper. Add half the mixture to a ziploc bag with the chicken breasts. Smush around to coat the chicken, then refrigerate for several hours or overnight.

After marinating, heat heavy skillet or grill to medium. Grill or cook chicken until done. Slice chicken into strips.

SPREAD

In a small bowl, combine mayonnaise and 3 tablespoons of the sundried tomato mixture. Cover with plastic wrap and refrigerate until needed.

ROASTED RED PEPPERS

If you have a gas cooktop, blacken red peppers directly over the flame. (If you do not have a gas cooktop, blacken them directly under the oven broiler.) Completely blacken/char on all sides, then immediately seal in a ziploc bag. Allow peppers to sit, sealed, in the bag for at least 20 minutes. When cool enough to handle, remove from bag and use fingers to slip off the blackened skin. (Don’t be afraid to leave some black bits!) Lop off the top, cut in half, then seed and slice into strips. Set aside.

TO ASSEMBLE

To make the panini, spread generous amounts of the sundried tomato/pesto spread on one side of all the pieces of bread. On four of the pieces, arrange 1/4 of the chicken slices, 1/4 of the pepper slices, and two pieces of cheese. To with the other four pieces of bread with the spread face down. Butter both sides of sandwich, then grill in panini maker or on a skillet over medium-low heat. (If you use a skillet, set a heavy pan or skillet on top of the sandwich as each side browns.)

Adapted from: The Pioneer Woman

Wednesday, August 11, 2010

Homemade Soft Pretzels with Sweet Mustard Dipping Sauce

A few weeks ago I went to Weber Grill for a baby shower and they had the most amazing pretzel bread. My love affair with pretzel bread started a loooong time ago, but it was just recently that I have felt brave enough to try bread. You see, I have a long history of lost bread battles.

I once had a recipe for dinner rolls but they turned out more like hockey pucks. Not so yummy...For whatever reason, homemade bread has not been my friend. But, after much thought, amazing reviews online, and one too many delicious pretzel rolls, I decided to try out Alton Brown's recipe for homemade soft pretzels.

This recipe is SO worth it! Actually, it's pretty easy too. There are a few weird (to me, the novice breadmaker) steps, so I tried to photograph many of the steps to share with you. I hope they help! Like I said before, this recipe is far simpler than it seems at first and is a great way to begin making bread.

I also decided to forgo using all of the dough for traditional looking pretzels. Plus, I got bored with rolling and twisting. So, half of the dough was used to make pretzels and the other half was used to make rolls.

These are so perfect that I will definitely be making them again. Next time, though, I think that I am going to top them with cinnamon and sugar instead of the finishing salt - YUM!


Homemade Soft Pretzels

1 1/2 cups warm (110 to 115 degrees F) water
1 tablespoon sugar
2 teaspoons kosher salt
1 package active dry yeast
22 ounces all-purpose flour, approximately 4 1/2 cups
1/2 stick unsalted butter, melted
Vegetable oil, for pan
10 cups water
2/3 cup baking soda
1 large egg yolk beaten with 1 tablespoon water
Pretzel salt (I just used Kosher salt from my salt grinder and it was perfect!)

Combine the water, sugar and kosher salt in the bowl of a stand mixer and sprinkle the yeast on top.


Allow to sit for 5 minutes or until the mixture begins to foam.


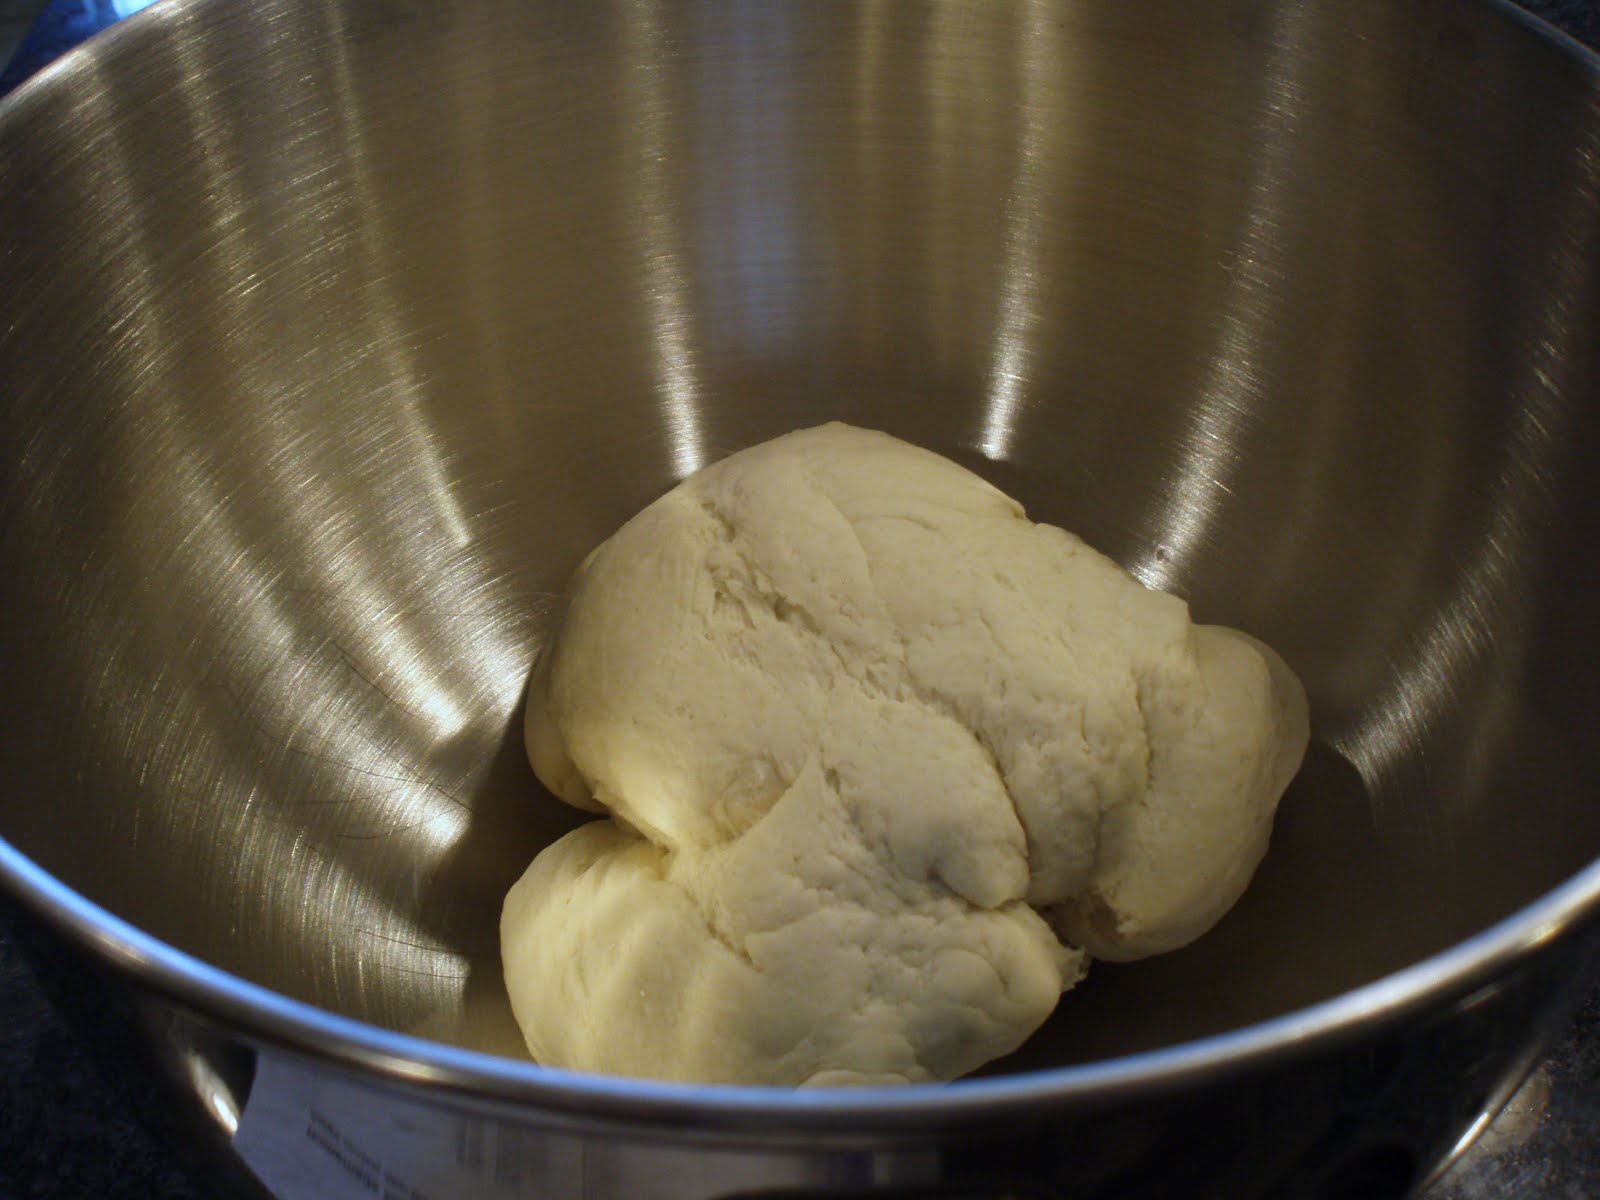
Add the flour and butter and, using the dough hook attachment, mix on low speed until well combined. Change to medium speed and knead until the dough is smooth and pulls away from the side of the bowl, approximately 4 to 5 minutes.


Remove the dough from the bowl, clean the bowl and then oil it well with vegetable oil. Return the dough to the bowl, cover with plastic wrap and sit in a warm place (I used the warming drawer on my oven set on LOW) for approximately 50 to 55 minutes or until the dough has doubled in size.


Preheat the oven to 450 degrees F. Line 2 half-sheet pans with parchment paper and lightly brush with the vegetable oil. Set aside.

Bring the 10 cups of water and the baking soda to a rolling boil in an 8-quart saucepan or roasting pan.

In the meantime, turn the dough out onto a slightly oiled work surface and divide into 8 equal pieces. Roll out each piece of dough into a 24-inch rope. Make a U-shape with the rope, holding the ends of the rope, cross them over each other and press onto the bottom of the U in order to form the shape of a pretzel. Place onto the parchment-lined half sheet pan. *(This is where you can either make pretzel shapes or rolls...your choice!)


Place the pretzels into the boiling water, one at a time, for 30 seconds.


Remove them from the water using a large flat spatula. Return to the half sheet pan, brush the top of each pretzel with the beaten egg yolk and water mixture and sprinkle with the pretzel salt.


Bake until dark golden brown in color, approximately 12 to 14 minutes. Transfer to a cooling rack for at least 5 minutes before serving


Sweet Mustard Dipping Sauce

1/2 C. Dijon Mustard
1/4 C. Maple Syrup
1 T. Brown Sugar

In a small bowl, whisk all ingredients together until smooth. Enjoy with Homemade Soft Pretzels!

Tuesday, August 3, 2010

Ham and Cheese Sliders

When figuring out recipes for our latest summer party, I wanted something that would be delicious, fun, but simple for me to throw together. I don't know about you, but I think food is so much more fun and cute when it's smaller! These Ham and Cheese Sliders were perfect because they are so easy to put together and everyone loved them. I had to hide a few in the fridge to make sure I got one at the end of the night. And on that note, these are amazing as late-night snack food!

You might not think that Ham and Cheese sandwiches are very special, but the sauce that you drizzle over these babies is amazing. It really takes this recipe from plain ham and cheese sammie to irresistible party food. Plus, the sweetness of the Hawaiian rolls cute the tang of the mustard to strike a really nice balance. If you don't have poppyseeds or don't want to spring the extra cash for them, don't worry. They are just to make the sandwiches a little more pretty and fun...besides, if you leave them off you won't have to worry about poppyseeds in your teeth!

Needless to say, everyone kept coming back for more and I hope you give these Ham and Cheese Sliders a try!


Ham and Cheese Sliders

For the sandwiches:
24 mini Hawaiian rolls
24 slices honey ham
24 small slices Swiss cheese
Miracle Whip (or mayo if you're one of THOSE people - hehe)

For the topping:
2 tbsp. yellow mustard
8 tbsp. butter, melted
1 tbsp. finely minced onion
1/2 tsp. Worcestershire sauce
Poppy seeds, for sprinkling

Directions:
Preheat the oven to 350˚ F. Split the rolls and spread both sides lightly with Miracle Whip. Fold a slice of ham to fit on each slider bun, and top with a slice of Swiss cheese. Replace the top bun to assemble the sandwiches. Place the sandwiches on a baking sheet, very close together (See picture below).


To make the sauce, combine all ingredients except the poppy seeds in a small bowl and whisk to combine. Drizzle the sauce over the tops of the slider buns. Sprinkle with poppy seeds. Cover with foil and bake 10 minutes, until the cheese is melted. Remove the foil and bake 2 minutes longer. Serve warm.

Adapted from The Girl Who Ate Everything